
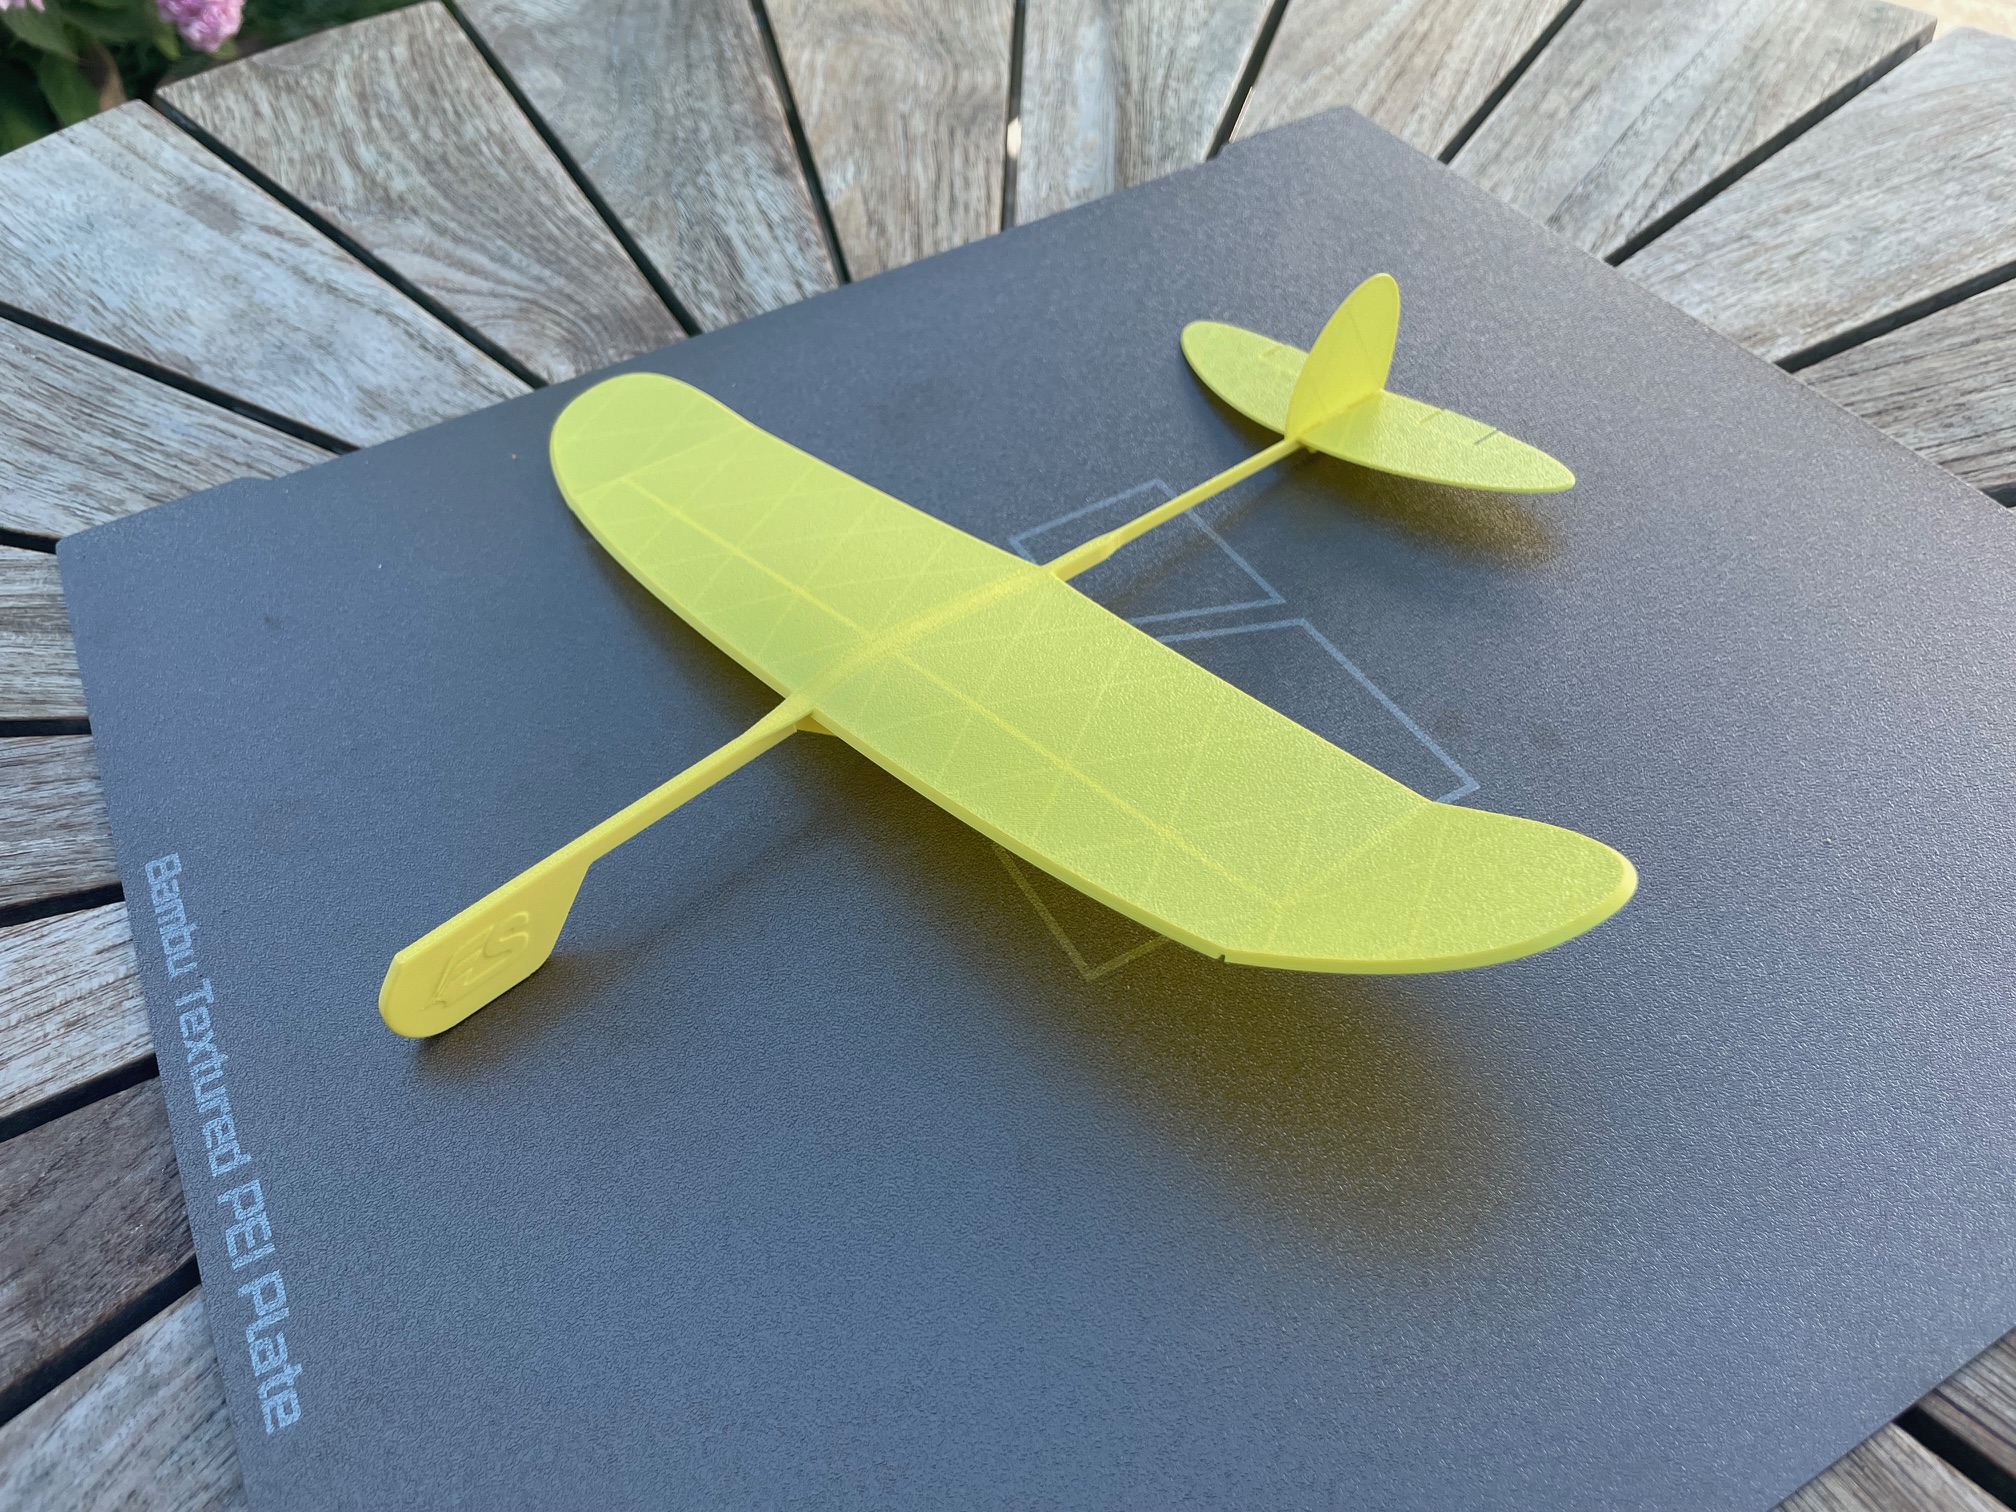
Super Leggiero – 9g Ultralight Glider
Peso
9g
Tiempo
45m
Precio
Cotiza este producto por WhatsApp
Contáctanos y te damos el precio según color y acabado
Las dimensiones dependen del diseño. Confirmamos las medidas exactas por WhatsApp.
Descripción
Super Leggiero is the first aircraft in the Ultralight Series, designed around the principles of minimum weight, efficient aerodynamics, and slow, floaty flight. With its ultralow wing loading and optimized airframe, it delivers long, graceful glides in indoor environments and calm, no-wind conditions. The Ultralight Series also introduces an expert hybrid construction technique, where the frame of the plane is printed directly onto lightweight tissue paper. This reduces the flying weight from 9 g to just 5 g—a 45% weight reduction—resulting in even slower flight, lower sink rate, and exceptional indoor performance. While the standard version is designed for simplicity and easy assembly, the hybrid version offers experienced builders the opportunity to explore the limits of ultralight 3D printed aircraft. Boost MeEnjoying the design? Tap Boost and like🚀 and follow me to see new planes as soon as they’re released! Complete Lineup Ultralight Series Super Leggiero - 9 g Experimental Series Canard Glider — Experimental Series #1 Gossamer Albatross Glider — Experimental Series #2 Sky Series Cumulus 680 — slow, smooth, relaxed glides Cumulus 400 Speed Wing — faster flights Stratus 500 — balanced and versatile Stratus 500 A1 mini version - Original size Assembly guide: Camber bracket: Insert the front pin of the camber bracket into the fuselage. Insert the rear pin by bending the camber bracket into an S-shape. Then slide the rear pin into the fuselage. (See assembly video.) Make sure the camber bracket sits securely between the locating tabs on the wing. Vertical Stabilizer: Insert vertical stabilizer pins into the slots (1).Bend the locking tabs as shown to secure the stabilizer. (2) Polyhedral Wing bend: Bend both wingtips upward along the reinforced bend lines. Flying tips: Note that the plane is suited for NO wind or indoor conditions only Avoid throwing the glider too hard. If launched too fast, it will pitch up and stall. Instead, give it a gentle push and try to match the glider's natural flying speed. Launch the glider at a slight downward angle. This helps maintain speed and results in a smoother glide. Finetune the pitch by adjusting the elevator control surfaces. If the glider pitches up or stalls: add more down elevator. If the glider dives: add more up elevator. Enjoy your flights! 😊 Boost MeBoost Me (for free) If you're impressed by the flight performance, please consider leaving a Boost 🚀 Expert guide for Tissue Paper Hybrid Edition Note: This version requires patience and experience. It is recommended for advanced 3D printing users. 1. Prepare the paper Cut a sheet of tissue paper slightly larger than the print area. 2. Secure the paper Attach the paper to the build plate using magnets. I use Ø20 × 3 mm neodymium magnets from the Bambu Lab store. Make sure the paper is smooth and wrinkle-free. 3. Check magnet placement Before printing, verify that all magnets are outside the print path. 4. Print settings Disable Bed Leveling. Ignore the warning pop-ups. If possible, set Auxiliary Part Cooling to 0%.Excessive airflow can cause the tissue paper to flutter, reducing print quality. 6. Cut out the glider Use a sharp hobby knife and cut in the direction shown in the illustrations for the cleanest result. 7. Assemble Follow the standard assembly instructions. The tissue paper version is extremely delicate, so handle it carefully. 8. Fly! Congratulations—you've just built one of the lightest and best-flying printable gliders on Maker World. Enjoy! ✈️
Tags
Diseñador
Sami