
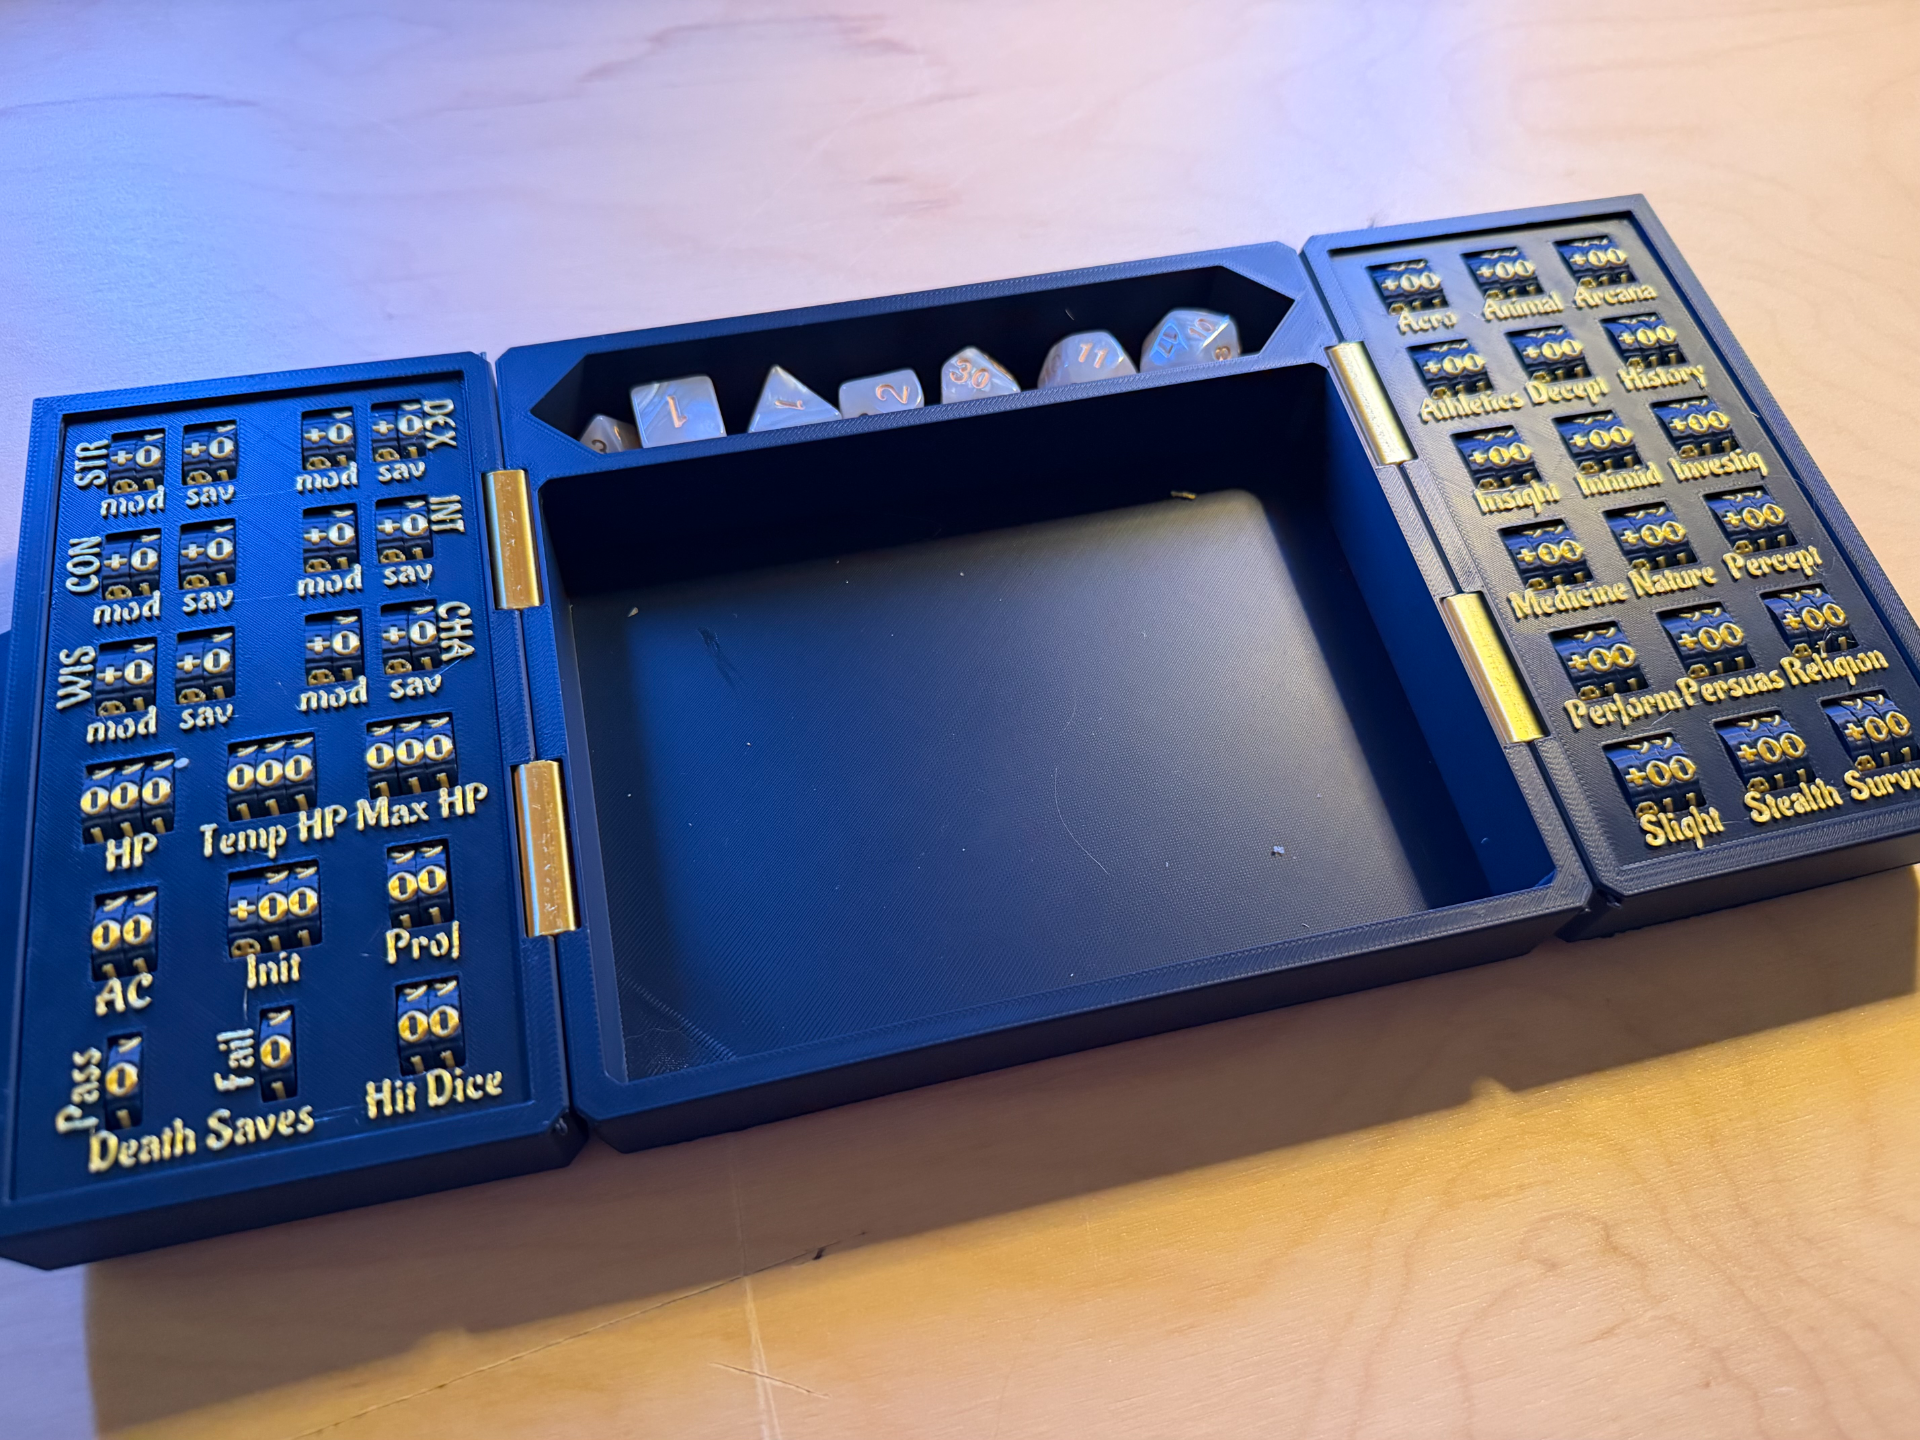
Ultimate Player Kit - Mini Version
Peso
416g
Tiempo
20h 29m
Precio
Cotiza este producto por WhatsApp
Contáctanos y te damos el precio según color y acabado
Las dimensiones dependen del diseño. Confirmamos las medidas exactas por WhatsApp.
Descripción
Boost MeIf you like this model consider boosting it. Its free and lets me know you like what I'm doing and want more of it.MembershipSubscribe to me and get access to a members only discord as well as commercial sales rights.Ultimate DND Players Kit - Mini The Ultimate DND Players Kit - only smaller! I've been asked many times for a smaller, more compact version of my ultimate players kit, so here it is. Easily fits in small bags, portable, compact and always ready for your game nights! By popular demand, this entire model Print settings Please use the provided profiles for printing. Note: I highly recommend against using Wood PLA, as it throws off tolerances. Print Options I've included a profile for plain and wood grain effect. Assembly Instructions Insert the hinges into the slots in the doors Thread a piece of filament through the door into the hinges. Place each door on the tray, line up the hinges and add another piece of filament on the tray side. Add wheels to each rod according to the layout (below) and add an end cap to each rod, taking care to make sure the long end matches up on both sides. Place the insert into the bottom of the door: Please note: the inserts are slightly bigger than the doors - this is intentional. The print orientation should provide enough flex that the inserts can bend into place. You can use a hook or small skewer to position the wheels while placing the insert in. For more detailed positioning instructions, please see the instructions for the v3 UPK, as the process is the same: https://makerworld.com/en/models/2019312-ultimate-dnd-players-kit-v3-lockable-tracking#profileId-2177689 Left side symbol/number layout Right side symbol/number layout Using a drop of superglue, or hot glue, attach the corner embelleshments Insert the lock mechanism and orient as shown, twisted all the way to the right (locked position). Add a bit of adhesive to the mechanism, then add the lock embeleshment. Questions/Feedback Please reach out if anything is unclear or if you're having trouble. I'm always happy to help or fix the profiles if there are any issues.
Tags
Diseñador
about30cows