
TinyWhoop 360° Protector (130mm & 160mm)
Peso
14g
Tiempo
1h 13m
Precio
Cotiza este producto por WhatsApp
Contáctanos y te damos el precio según color y acabado
Las dimensiones dependen del diseño. Confirmamos las medidas exactas por WhatsApp.
Descripción
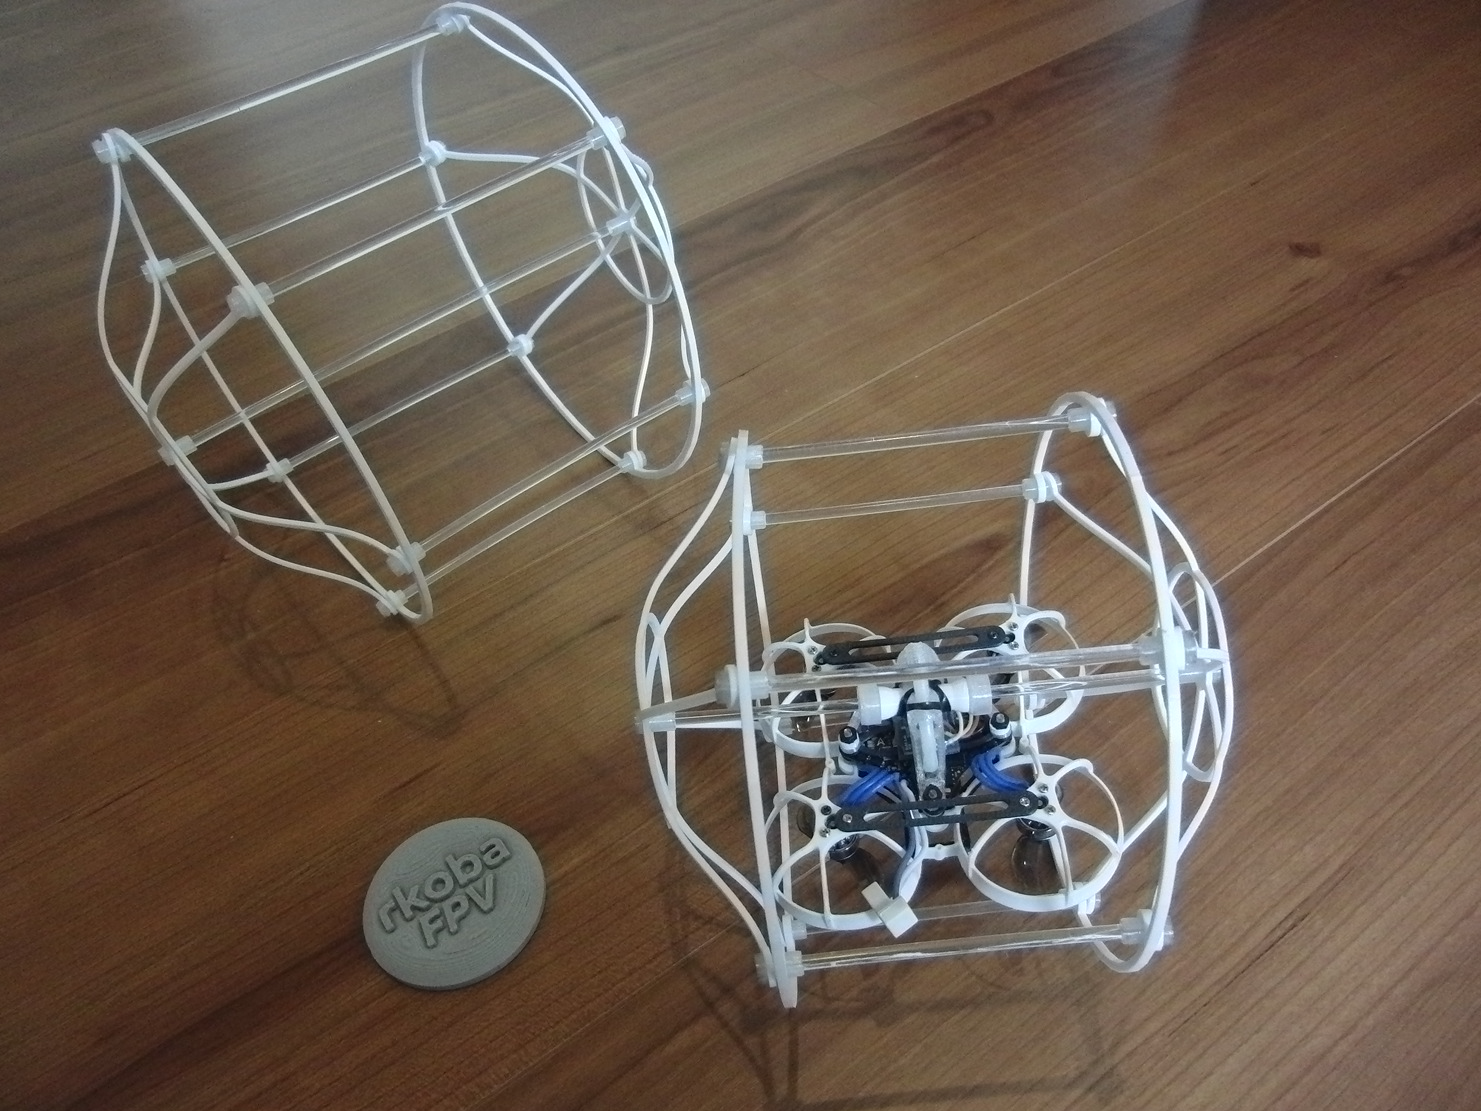
Boost MeYour BOOST would really motivate me to keep creating 3D data—thank you in advance!I created an all‑direction protector for TinyWhoop. It is available in two sizes: a 130 mm type and a 160 mm type. By mounting this 360° protector parallel and level to the aircraft’s center axis, acro‑mode flight becomes possible. Because the weight increases, the operating difficulty becomes slightly higher, but since the guard is installed, I believe the likelihood of damage is reduced. The structure has moderate flexibility, helping protect the FC and the frame. It can also run along the ground. The weight is approximately 16 g for the 130 mm type and about 20 g for the 160 mm type, so it is recommended for use with 0802 motors or larger. Print Parts 1–3 in PETG, and Parts 4–5 in TPU. For assembly, 3 mm acrylic rods are required, which can be purchased inexpensively at home improvement stores. For the 130 mm type, use six rods cut to about 75–80 mm and one rod cut to about 130 mm. For the 160 mm type, use six rods cut to 100 mm and one rod cut to 160 mm. Adjust the lengths as needed depending on the six rods placed around the circumference. Please make sure the six rods around the circumference are all the same length. After forming the circular shape with these six rods, determine the final length of the center acrylic rod. Cut the center rod slightly longer at first, then trim off the excess after test‑fitting to avoid mistakes. After printing the parts, the protector can be assembled by simply snapping the pieces together. Parts 3 are mounted to the canopy.Secure them with cable ties and insert the center acrylic rod through the cut‑out center section. Instead of Parts3, you can also drill a 3.5 mm hole in the genuine C03 canopy and use it that way (see photo 16).This one was more stable. Parts 5 function as a stopper to keep the aircraft centered.Please leave a slight gap between Parts 3 and Parts 5. The alignment may shift due to crash impacts. Adjust the horizontal alignment using Parts 3, and fine‑tune the front‑rear tilt by changing the battery position. The 130 mm type is intended for 65‑size frames, and the 160 mm type is intended for 75‑size frames. However, by adjusting the length of the acrylic rods, a 75‑size frame should also fit in the 130 mm type. After connecting the side parts with the six round rods arranged around the circumference and assembling them into a spherical shape, insert the aircraft through the gaps between the pillars and then attach the center shaft. Sufficient space is provided for easy access to the battery as well. If you have any questions, feel free to leave a comment. (Added on July 12, 2026) Additional types of mount parts for the canopy are planned to be added in the future. (Added on July 13, 2026) I have added an explanation to the description regarding using the genuine C03 canopy by drilling a 3.5 mm hole (in this case, Parts3 is not used). The canopy uses the model linked below. 3Dプリント BETAFPV Air65/75 キャノピー V2 – 軽量版 - 無料3Dモデル -MakerWorld
Tags
Diseñador
rkoba