
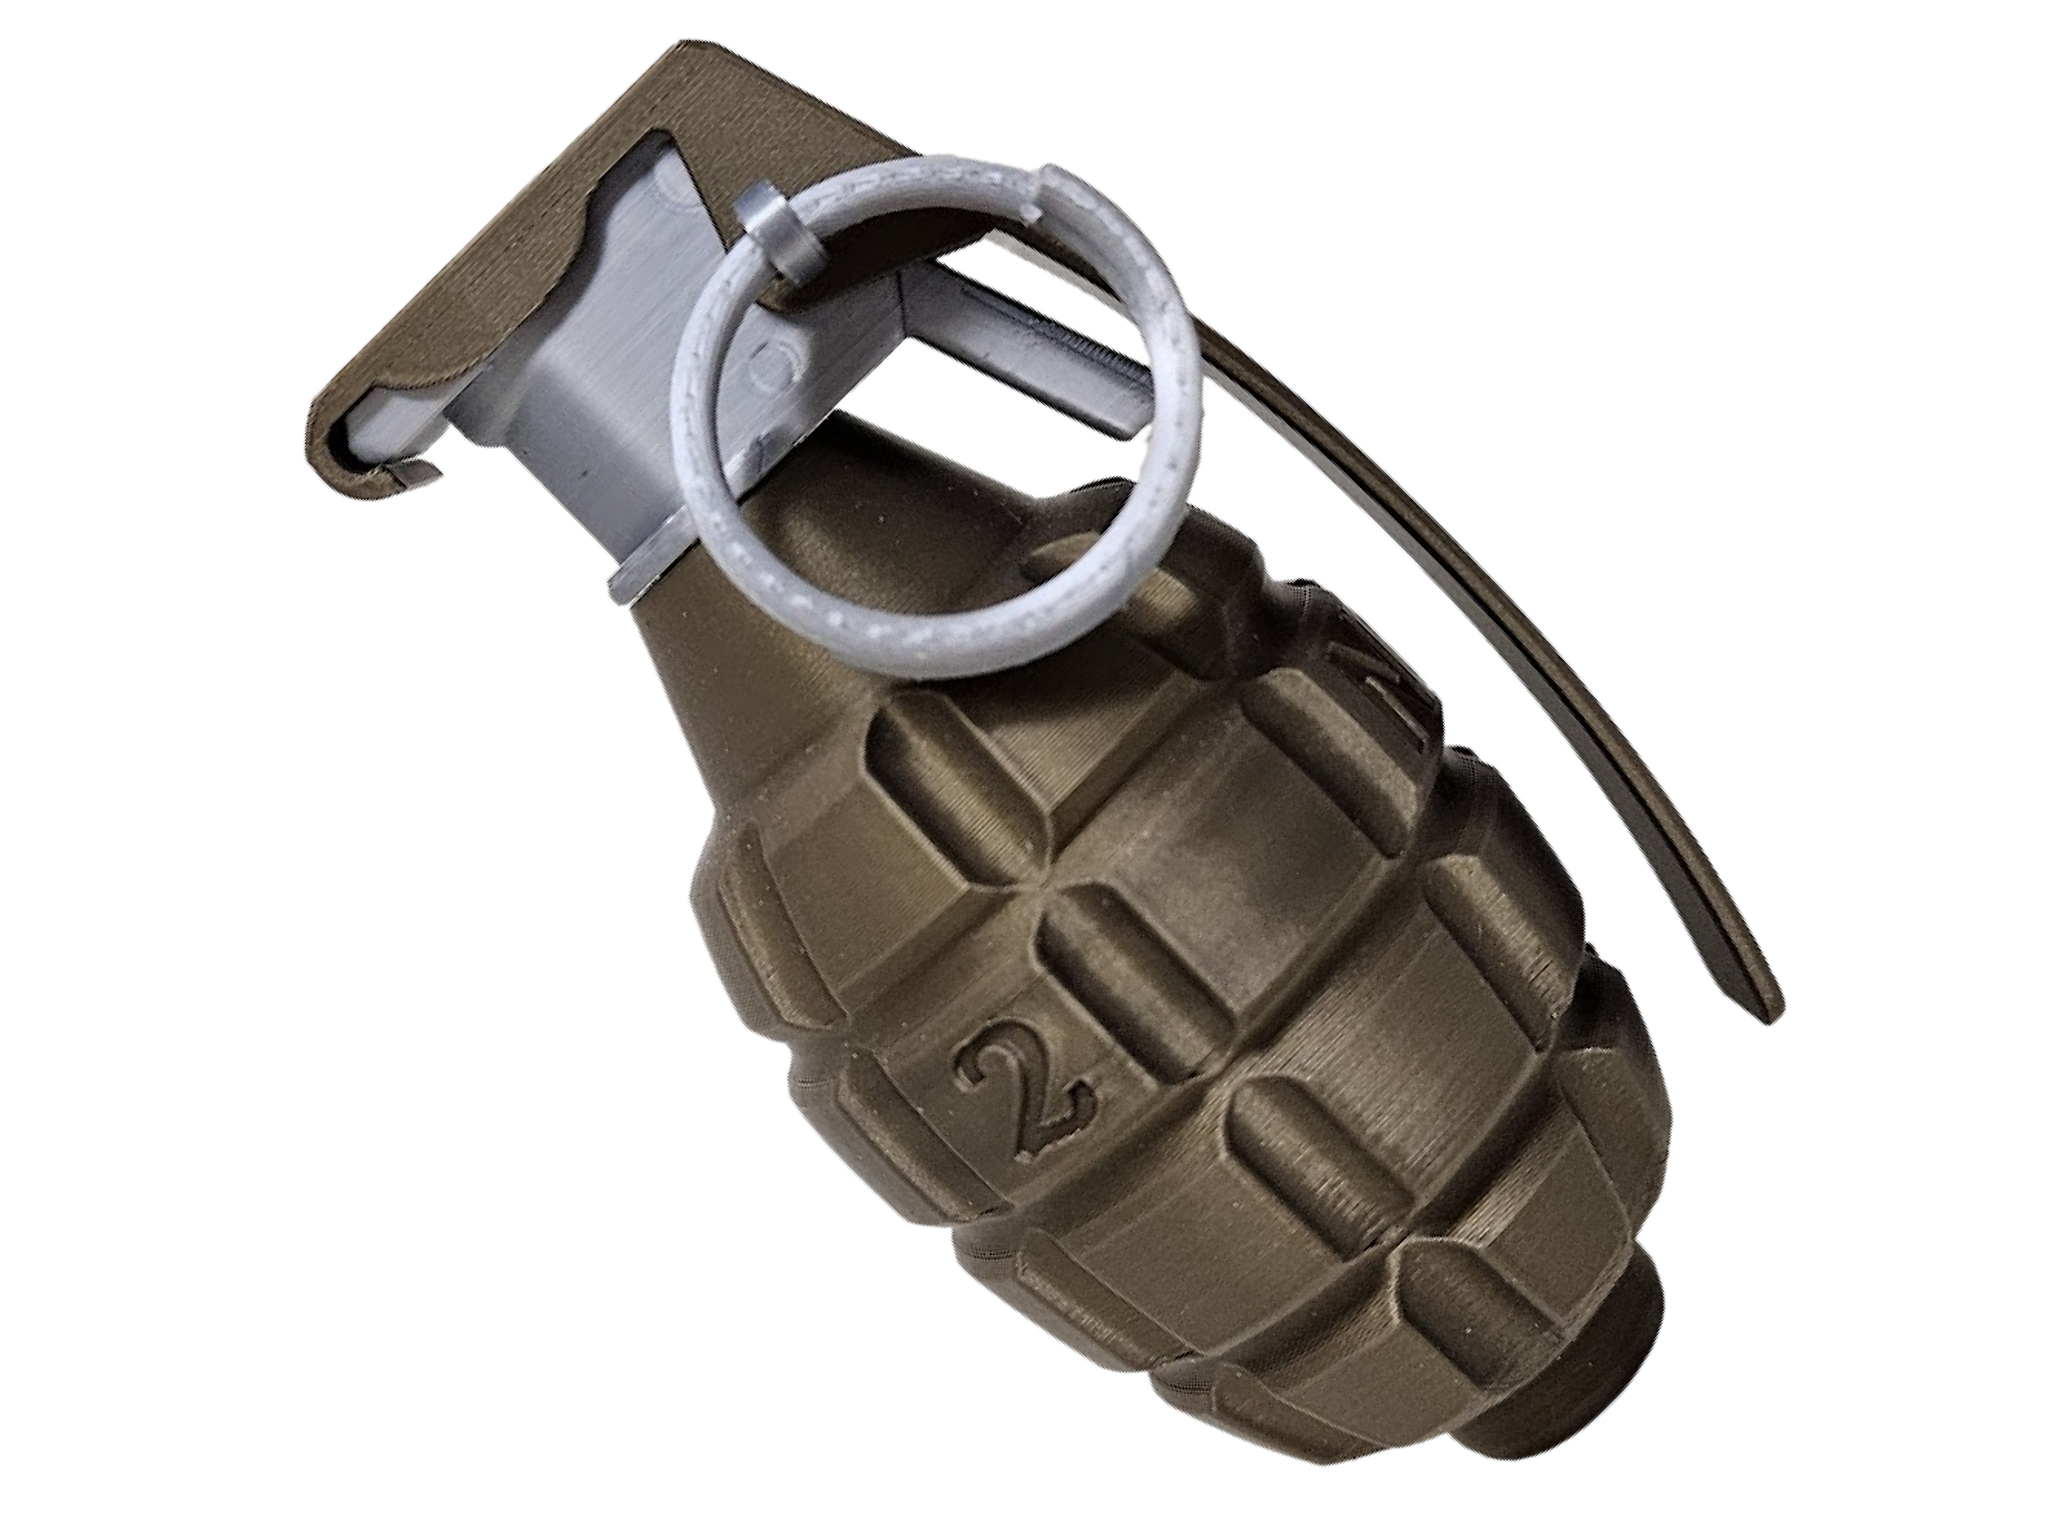
US WWI Mk1 Grenade Prop | Realistic Flying Handle
Peso
67g
Tiempo
3h 39m
Precio
Cotiza este producto por WhatsApp
Contáctanos y te damos el precio según color y acabado
Las dimensiones dependen del diseño. Confirmamos las medidas exactas por WhatsApp.
Descripción
Want a replica of a US WW1 grenade? This is the original "pineapple" grenade from WW1 that was the predecessor to the Mk2 grenade we all know from WW2. This grenade has a spoon handle that flies off when you pull the pin, just like the real thing would. Background: Introduced in 1917, the US Mk1 Grenade was the first fragmentation hand grenade developed by the United States for use in World War I. It was notoriously complicated to operate in the field, often requiring the user to manually ignite the fuse before throwing. Due to soldiers struggling to arm it under pressure, the Mk 1 grenade was quickly recalled and replaced by the improved Mk 2 grenade fuze in 1918 (which this model depicts). Spring options (for flying handle) Metal Spring (recommended) – if you have a metal spring, even a pen spring will usually work, then print the metal spring profile. It is designed to work with the Bambu Store's 0.5x7x12mm spring (linked lower on the page). If you use a pen spring, you can usually cut it in half and get two springs. Plastic Spring – if you don't have a metal spring, but still want the handle to fly off, then print the plastic spring profile.If the spring eventually wears out, just print a new one and pop it in. Don't leave the spring under tension when not using it as it will wear out much faster. Avoid Matte and Silk filament for the spring itself, Basic and Metal work better. No Flying Handle - if you don't want the handle to fly off and just want a grenade model, simply print either version and don't put in a spring. Bambu filaments used Basic BronzeDark gray filaments are also period appropriate Silk+ Silver Assembly takes seconds Metal Spring Version 1. Insert the peg into the topper while its upside down. 2. Then insert the metal spring in the same way. 3. Then screw the grenade topper onto the body of the grenade. Doing so upside down is easiest. (this depicts a Mk2 grenade with the yellow stripe, but this Mk1 screws together in the same way) Plastic Spring Version 1. Insert the printed spring into the topper. Make sure the peg pops out, rotate it if it doesn't until it does. 2. Then simply screw the topper onto the grenade while upside down. (this depicts a Mk2 grenade with the yellow stripe, but this Mk1 screws together in the same way)
Tags
Diseñador
Rexi Labs