
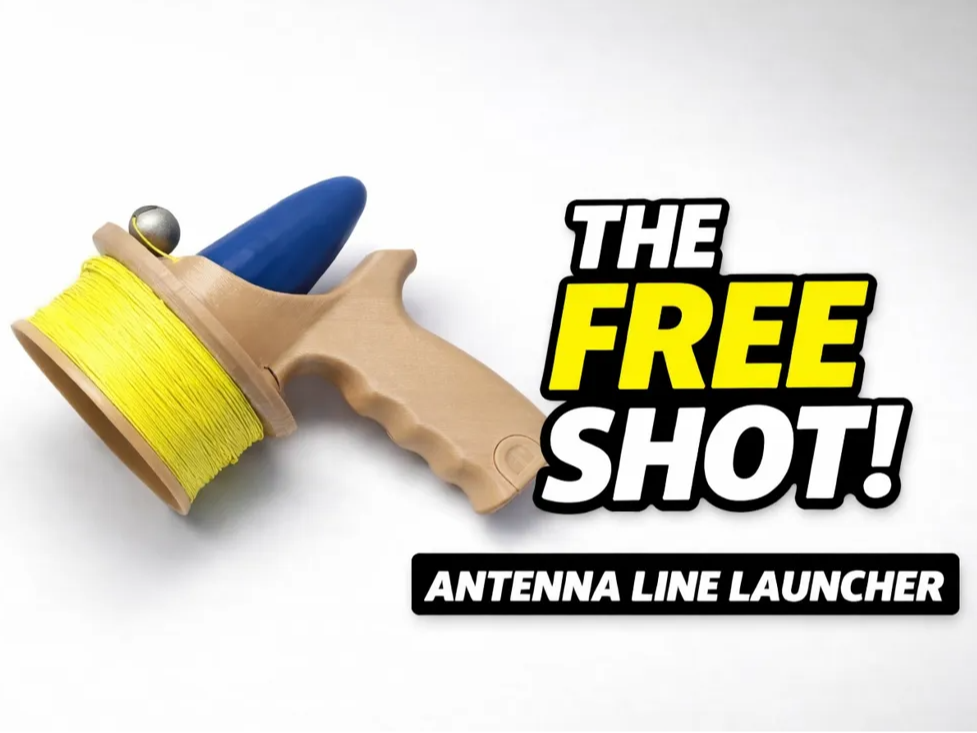
"The Free Shot" Antenna Line Launcher (V3!)
Peso
274g
Tiempo
7h 38m
Precio
Cotiza este producto por WhatsApp
Contáctanos y te damos el precio según color y acabado
Las dimensiones dependen del diseño. Confirmamos las medidas exactas por WhatsApp.
Descripción
Version 3!! No supports needed! V3 Changes: -Increased joint between cylinder and grip to improve longevity and strength -Increased thickness of clip to make it much harder to break -added a slope to the inside of the “Ring” where you shoot through to make it impossible to strike the retaining ring or the spool regardless of how off center you launch it. Dont have a printer? Its on Etsy as well! https://summitradiodesigns.etsy.com The latest wind storm gave me a reason to rehang my antenna in a tree and while I love throwing a wrench and 550 cord I decided to take a few hours and Design this instead! Total cost is around $10-15 USD and works great so far and even comes with a compartment for spare weights in the grip! it will technically work with a regular balloon but id recommend a pocket shot pouch or whatever the things are called. I had pondered making putting this on Patreon or something but decided to free the files for everyone to enjoy! NOTE!: The notch on the grip where the spool goes may need to be shaved away or worked in depending on printer quality. I used a utility knife Operation: Since some people have asked I am adding this here. In short the order of operation goes as follows 1) Find tree. (or tall friend) 2) attach weight to line. 3) launch line over a branch and allow the weight to come back down here you could attach the antenna to the line however I prefer to attach paracord onto to line and run it back through the tree so that Im not damaging the line hoisting things up and down. it also prevents the weight from trying to wrap around a branch as you reel it back in which if you've fished ever you know what I mean. POST TESTING NOTES! for context there are two common lengths for the latex pouch, 11cm and 16cm. If you have the 16cm version you may run into the issue of the latex coming out the front end of the spool and the line wrapping around the latex preventing it from deploying. you can still use them just not at full power but still get upwards of 50ft height. I am currently working a director for the line to prevent this in the future. Assembly and use: Choosing weights: When choosing weights, look for a weight of around 1oz and a diameter of less than 21mm if you intend on using the grip compartment. I also highly recommend not using weights with eyelets as they tetend To snag on and rip the latex. Aim for something with just a through hole. Pouch selection: There are two common sizes for pouches, 11 and 16cm(at this time I do not recommend the longer pouch at all and have ceased development on the extension. A caution with the longer pouch is that at times when you really pull back you'll end up having the pouch go out the front of the spool and the line may wrap around it. I'm currently developing an extension to solve this issue! You can still use the 16cm Pouch but be careful how far back you pull. Example below. BOM Hyperlinked amazon Links may be affiliate links (no extra cost to you) ~230g Filament Approx $3 Slingshot Pouch approx $4(ea) however cheaper are available via china($1.8) m6 bolt and nut for the drill adapter $1 1oz weights are recommended <$2(ea) I used 80lb test high vis braided line so its a little more expensive $10 as a note Id recommend a slightly thicker line. even this braided was a little thin and had mixed results unspooling when launched as it would catch on itself. If youd Like to donate you can visit my https://www.patreon.com/c/Summit_60
Tags
Diseñador
Summit_60 (KE2GYH)